Wednesday, July 15, 2015

Wall Mirror

I made this as a gift for my eldest daughter's baby shower. There will be more of these to come.


PLEASE EXCUSE THE MESS...THE KIDS ARE MAKING MEMORIES

I thought it was cute. I bought a ton of these little mirrors in different sizes and colors from the .99 Store and they are working out fantabulously! It wasn't too terribly difficult but I am still working on laying the vinyl out smoothly. If anyone has any suggestions that would be great. 

Here are some other ones I made for the shower as well:

LIVE LOVE LAUGH & BE HAPPY
STAY PATIENT & TRUST YOUR JOURNEY

Sweet 16 Hope Chest

This project was something I put together for my daughter's sweet 16. It was time consuming but a lot of fun. It was definitely a challenge!

BEFORE: 


AFTER


What a transformation! And it was so much fun, too! Here are some more pics from different angles and other sides of the chest. 


So, I purchased 12 x 12 sheets of papers with different designs from Barnes & Nobles and used the Cameo to cut them out. I used a decoupage technique to glue the pieces onto my newly finished chest, which I bleached, primed, and painted with a homemade crackle recipe. There was a lot of prep work involved but it was totally worth it. Then I used my Cami to cut the black vinyl shapes and stuck those on as well. The travel log on the inside of the top of the chest was cut out from one of the sheets and I filled it in with places that my daughter has been in her lifetime. 


Ribbon Holder

Next, was a simple little fun project I found in the design store. It was SUPER easy and I was feeling quite accomplished when finished. Also, you can see a nice little shot of my machine behind it.


Here's another shot with the touch screen on. I love how it lights up!


Personalized Wine Label

This was a HUGE hit! I wanted to make my mother and stepfather a sentimental gift for their anniversary so I decided to take one of their homemade wine bottles and create a special label just for them using my Cameo. It turned out that they had actually created their own "crest" for their relationship, like a family crest. So I spent forever in the design store searching for the perfect label that would suit their "crest" and I do believe I found it because they were absolutely thrilled with it! I was quite pleased myself ;) 

Here it is:

The detail was great and the final product was BEAUTIFUL!

Issues that I had with this:

  • The paper wasn't coming off very well (I'm thinking I did not have the correct blade selected). 
  • It took patience peeling off each little square and laying it out while the paper kept sticking to the bottle.
  • The printed image kept trying to rub off of the gold foil. This may be an issue with using a laser printer on gold foil? I have yet to go back and do this project again but I think the issue is not the paper but it may be my printer. IF it is the paper, they should not label it "printable" foil. But, as I said, I think it is the printer.
  • Centering


Fundraiser Signs

So, this was one of the first projects I did:


My daughter was raising money to go to Disneyland with her choir. I used red cardstock for the red letters, construction paper for the castle, and adhesive backed black vinyl for the rest of the decorations. The picture does not do it justice.


The vinyl is difficult to work with and takes much patience. Luckily, I have the hook tool and the scraper tools; they helped tremendously. I completely loved how the castle turned out! The biggest issue I had, besides the vinyl sticking to itself, was lining up my words. I am still having a difficult time with this but eventually I will gain enough patience and it will be perfect! This is where letting your kids join in on the fun pays off; you can blame them for the crooked letters ;-) My favorite part was the amount of time this poster took to make. With experience I could probably have this done in like 10 minutes! It was really more like half an hour, though. It would have taken me FOREVER to cut all of this out by hand! 

Intro to my Cameo

Okay, so this is my first blog relating to do it yourself projects. 


I have recently purchased a Silhouette Cameo cutting machine and we are becoming great friends! ;-) 
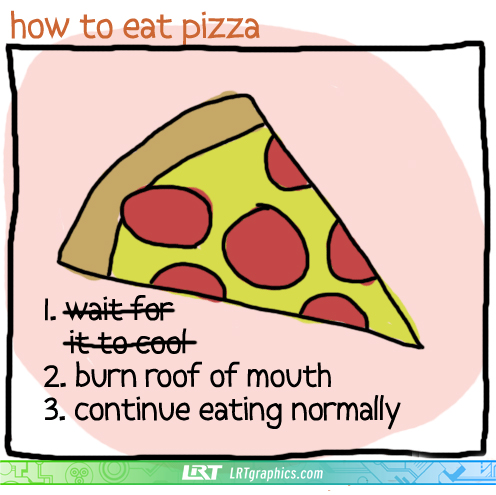
Actually, our relationship is bittersweet since I am still learning the software and working on the actual hands on experience but we'll get there. No one's relationship is perfect, right?! It's actually kind of like this pizza graphic:  . This is because it takes forever to do the research so I just jump in and try to do things myself. Okay, okay, so it's not really like the pizza graphic, I just like it! It is, however, like diving into a pool of murky water that you can't see into knowing that underneath there is this awesome cave with tons of awesome crystals and glittery things on the other side. No, not a good analogy either, lol. Why don't we just say that the potential is limitless and the best way to learn is to just dive in!


I will share some of these experiences here and I will GLADLY take any advice anyone can give. At the least, I can teach people what NOT to do!